
Inviting guests to view files
2020-06-02Last updated
If you want to share a specific file with someone who does not already have a AXIS Case Insight account, without allowing them to search or view other files, you can invite this person as a guest.
What you should know
Procedure
-
If you are a regular user inviting a guest
user, do the following:
-
In the Permissions section,
click
 > Invite guest user
.
> Invite guest user
.
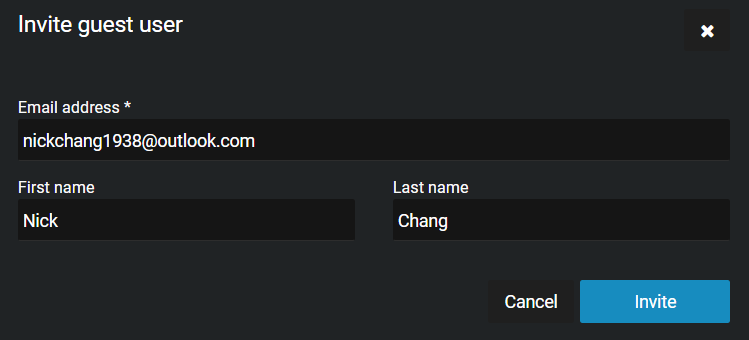
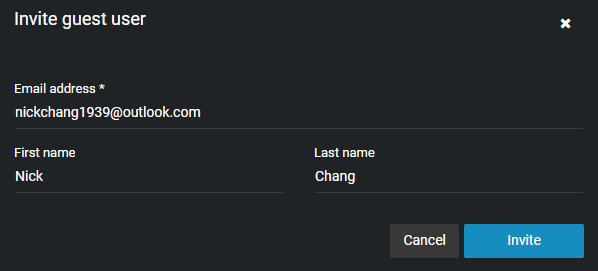
- In the Invite guest user window, enter the email address and name of the person you want to invite, and click Invite.
-
In the Permissions section,
click
-
If you are a regular user inviting a guest
user that has a AXIS Case Insight account, do the following:
-
In the Permissions section,
click
> Invite guest user
.
- In the Invite guest user window, enter the email address and name of the person you want to invite, and click Invite.
- Select the users that you require from the list and click Add.
-
In the Permissions section,
click
-
If you are a guest user inviting a guest
user, do the following:
-
In the
Permissions section, click
> Invite guest user
.
-
Click Invite.
 The person's email address is added to the Permissions section for the file, and an email inviting the user to join AXIS Case Insight is automatically sent.
-
In the
Permissions section, click
-
(Optional) Specify an expiration date for the guest user's access to the
file.
The default is Never expires.Note: You cannot specify an expiration date for a guest user with Manage permissions.
-
Under the guest users name, click Modify the expiration
date (
 ).
).
- Clear the Never check box and enter an expiration date or use the calendar picker to choose a date.
- Click Modify to confirm the changes.
-
Under the guest users name, click Modify the expiration
date (