
Redacting audio
2024-08-09Last updated
You can apply masks to redact voices, noises, or other audio content in a video file.
Before you begin
Procedure
-
From a case, navigate to the file you want to
redact, click More (
 ) in the Files, and
then click Trim and Redact.
Tip: You can also start a redaction from the File page or from the Evidence preview window when previewing evidence in a case.The Trim video window opens.
) in the Files, and
then click Trim and Redact.
Tip: You can also start a redaction from the File page or from the Evidence preview window when previewing evidence in a case.The Trim video window opens. -
(Optional) Move your cursor over the start or end of the file timeline and drag the its
borders to fit your desired time range or adjust the From and
To time values.
-
Click New mask (
 ).
).
-
To change the duration of the audio mask, adjust the start
and end points of the mask in the timeline.
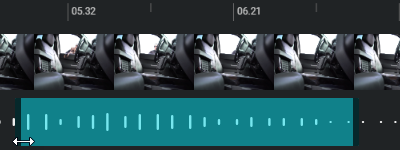 Tip: To zoom in or out on the timeline, click Zoom in or Zoom out (
 )
)
-
To change the duration of the audio mask, adjust the start
and end points of the mask in the timeline.
-
(Optional) Modify your masks if required.
-
Click New mask () to create additional masks.
-
Click delete (
 ) to remove any masks that you no longer
require.
) to remove any masks that you no longer
require.
-
Click New mask (
-
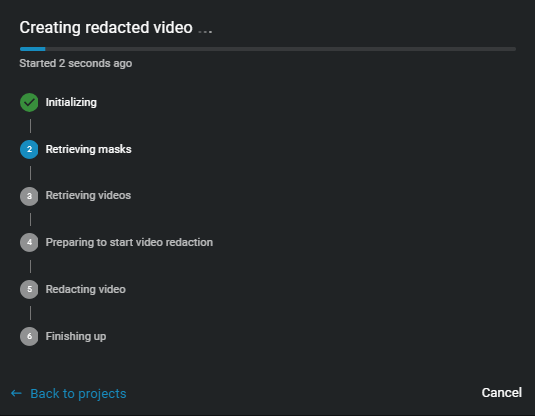
Click Create video to generate the redacted file.
-
(Optional) Click View details to track the
progress.
-
(Optional) Click View details to track the
progress.