
Redacting video manually in AXIS Case Insight
2025-02-13Last updated
You can manually mask or redact faces or other sensitive content in a video file scene to conceal a person's face or other identifiable information. You can also remove all audio from a video to mask sensitive audio content before generating a redacted video clip.
What you should know
- If the source file contains audio, audio is on by default.
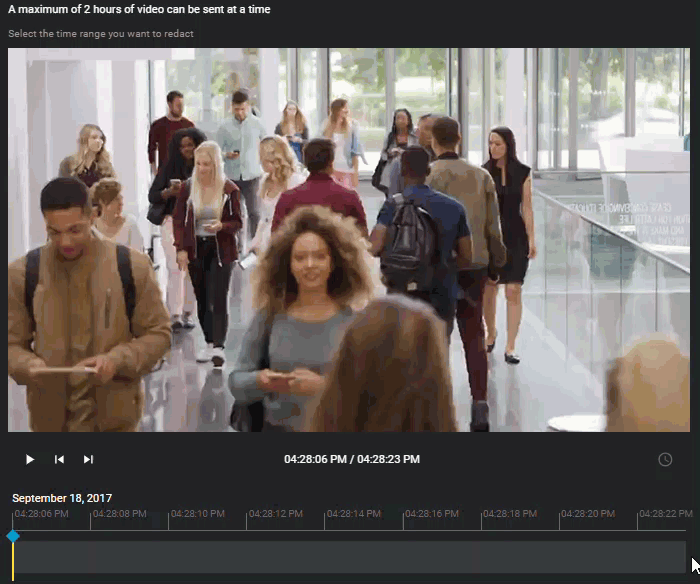
- The timeline contains thumbnail previews of the complete evidence file.
Procedure
To redact a video file manually:
-
From a case, navigate to the file you want to
redact, click More (
 ) in the Files, and
then click Trim and Redact.
Tip: You can also start a redaction from the File page or from the Evidence preview window when previewing evidence in a case.The Trim video window opens.
) in the Files, and
then click Trim and Redact.
Tip: You can also start a redaction from the File page or from the Evidence preview window when previewing evidence in a case.The Trim video window opens.
To trim a video file:
-
(Optional) Move your cursor over the start or end of the file timeline and drag the its
borders to fit your desired time range or adjust the From and
To time values.
-
From the Video editor, do the following:
-
Use the timeline slider, zoom controls, or
your mouse scroll wheel to position the timeline slider at the section
of video that you want to redact.
Tip: Use the thumbnail previews in the timeline to help identify the exact point in the video that you require. To zoom in or out on the timeline, click Zoom in or Zoom out (
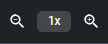 )
) -
(Optional) Click
 to toggle between absolute time and relative time.
-
In the video editor, click Mask video (
 ).
).
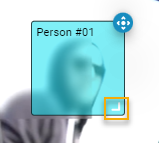
-
In the Additional masks section, click
New mask (
 ).
A mask layer is created on the video preview, and the duration of the mask is shown along the video timeline at the bottom of the video.
).
A mask layer is created on the video preview, and the duration of the mask is shown along the video timeline at the bottom of the video.

-
Use the timeline slider, zoom controls, or
your mouse scroll wheel to position the timeline slider at the section
of video that you want to redact.
-
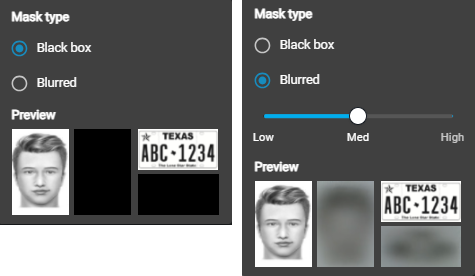
(Optional) Click Mask settings
(
 ) to specify the mask type that
you require.
) to specify the mask type that
you require.
-
If you specified Blurred, select a blur level.
Click or drag the slider to either Low,
Medium, or High to
preview the blur level.
-
If you specified Blurred, select a blur level.
Click or drag the slider to either Low,
Medium, or High to
preview the blur level.
-
To resize the mask, use your mouse at the
lower-right corner of the masking box.
-
If the person or object you must redact
is moving in the video scene, you can adjust the mask location using the
tracking tool, as follows:
-
Next to the masking box on the video preview, click and hold the
tracking button (
 ).
).
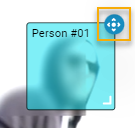
-
When the mask is no longer required on the video, release
the tracking button ().
-
Next to the masking box on the video preview, click and hold the
tracking button (
-
To change the duration of the mask,
adjust the start and end points of the mask in the timeline.
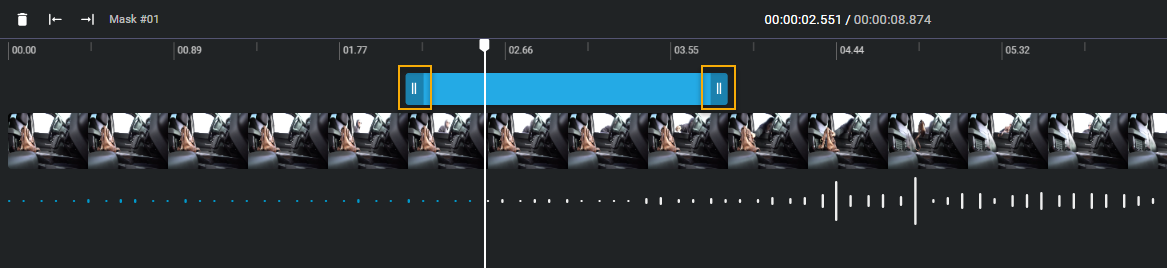 Tip: You can also adjust the start and end points by dragging the timeline bar to a specific point in the video and clicking Start mask at current time (
 ) or End mask at current time (
 ).
). -
(Optional) Modify your masks if required.
-
Click New mask () to create
additional masks.
-
Click delete (
 ) to remove any masks that you no longer require.
-
Click New mask (
-
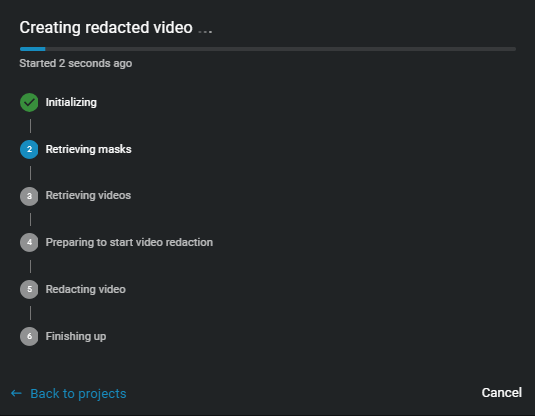
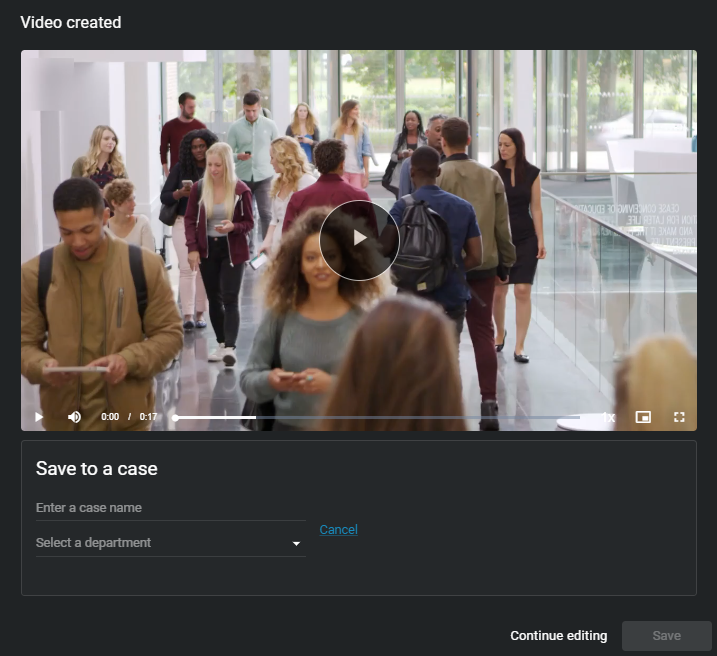
Click Create video to generate the redacted file.
-
(Optional) Click View details to track the
progress.
-
(Optional) Click View details to track the
progress.
-
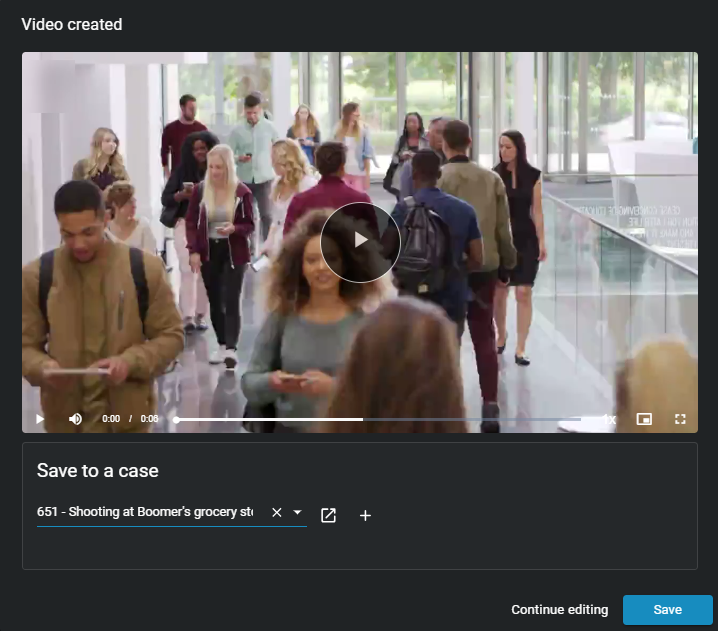
(Optional) To save the redacted video to an existing case.
-
Enter a case ID or name in the Search field or click the menu to see a
list.
-
(Optional) To check that you have the correct case click View
case (
 ).
).
-
Click Save to create a redacted copy of the
video file.
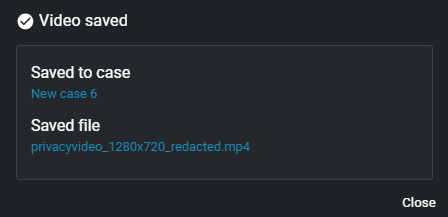 Tip: Click View file to change the file name before closing the dialog, so that others can easily find the file.
-
Enter a case ID or name in the Search field or click the menu to see a
list.
-
(Optional) To save the redacted video to a new case. For example, when you want
to share redacted evidence with someone who must not have access to the original
case.
-
Click Create a case.
-
Click Save to create a redacted copy of the
video file.
Tip: Click View file to change the file name before closing the dialog, so that others can easily find the file.
-
Click Create a case.
Example
Watch this video to learn more. Click the Captions icon (CC) to turn on video captions in one of the available languages.
Note: Although we do our best to keep our videos current, the
information presented in this video might become outdated with each new release. If you
find anything wrong with this video, feel free to contact
us.